It's about exploring and sharing my creative adventures (mostly sewing these days) ~
~those activities that sometimes obsess, usually inspire, occasionally frustrate
~and always provide a delightful maze to wander through.

Sunday, August 19, 2012

Smoky Smelly Synthetics and (Natural) Solutions

(Extra points for finding the bird....)

My washer has been getting a workout the past couple of days!  My exploding fabric post told the tale of of delight (free fabric!) and woe (free smelly fabric :( , and I got loads of great advice from friends and readers on suppressing smoky smells.

The most often suggested remedy was various applications of good ole' baking soda and vinegar, followed by sunshine and air drying.  Also suggested were enzyme odor treatments, scented dryer sheets, Febreze  and some other name brand items that I researched and either couldn't find or opted not to spend the bucks on.

A note about most commercial dryer sheets, fabric softeners, odor eaters, etc. - you simply won't find them in my house on a regular basis, because I'm not willing to rub the toxins that are present in most of them onto my skin, and I find that some of them are an assault on my nostrils.  I was willing to break protocol for this smell, but in the end, I won't need to do it!

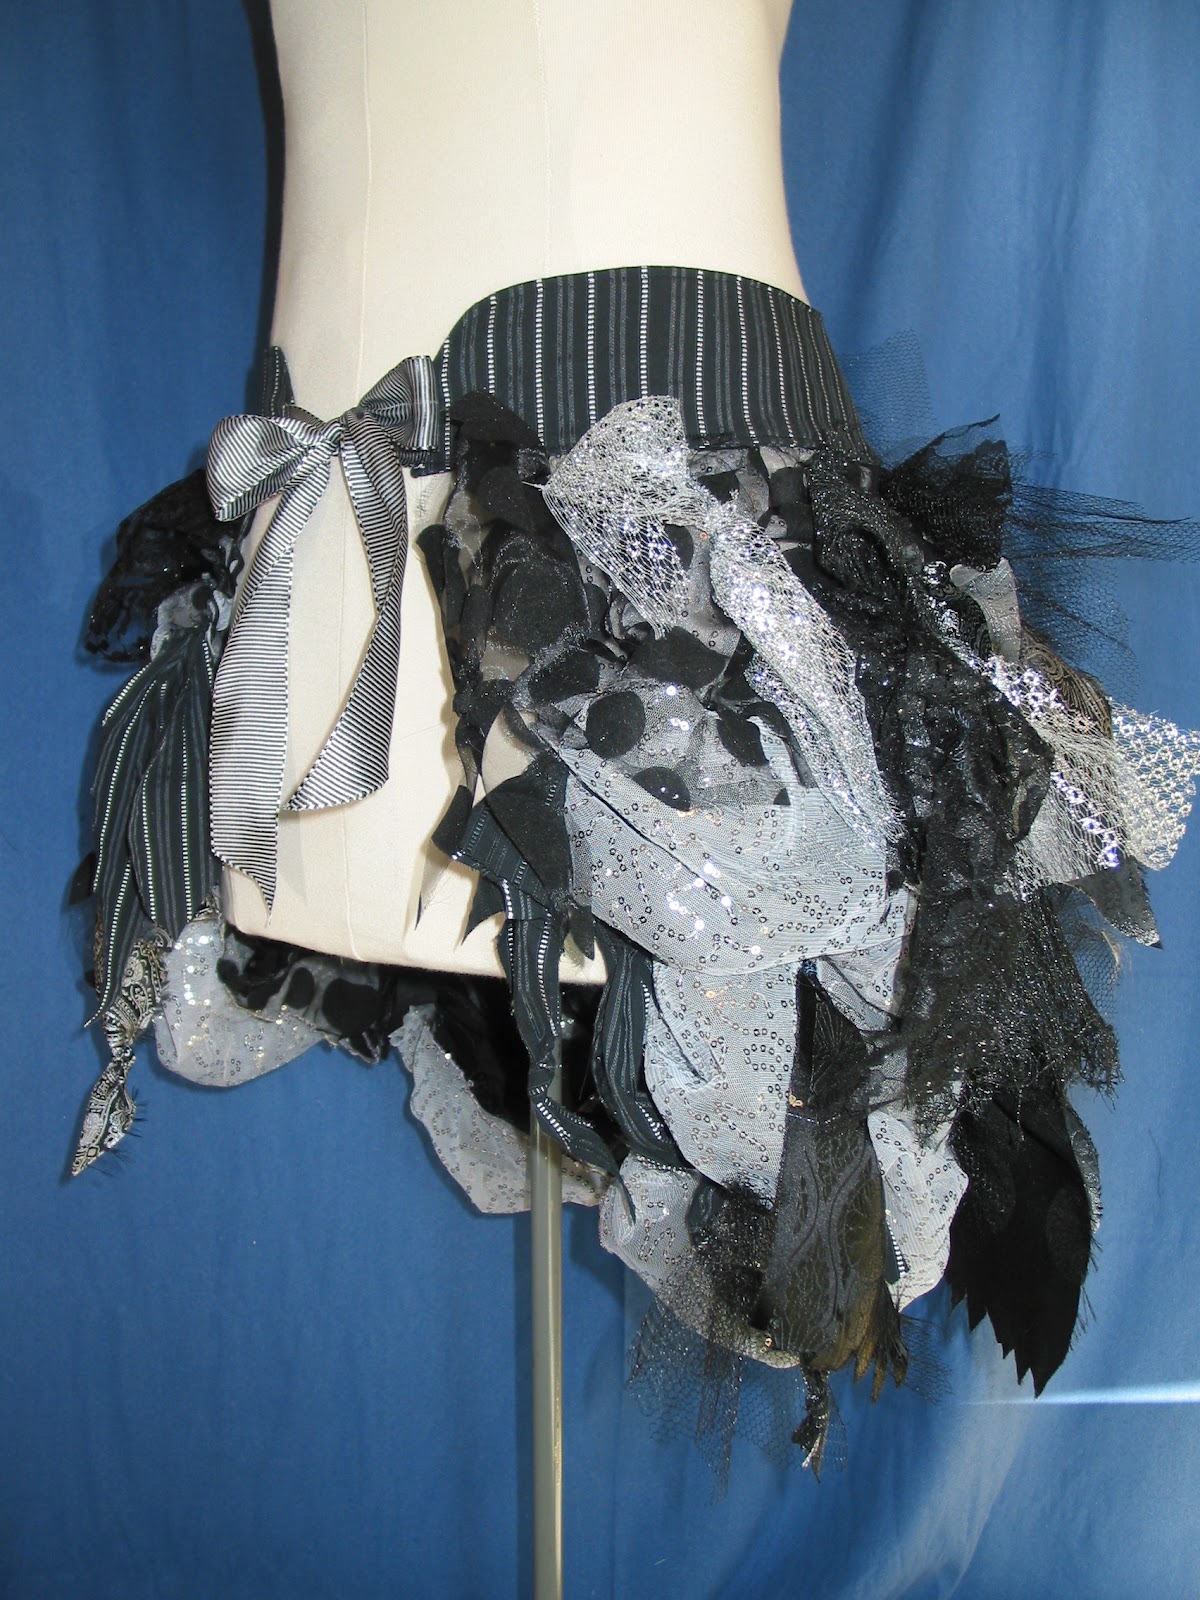
I've had some luck removing smoke smell from natural fibers (mostly cotton) in the past, but this time I'm dealing with a batch (a HUGE batch!) of synthetics - spandex, tulle, polyester....17 years worth of a young girl's dance costumes..., and I had a feeling it might be more challenging to remove the odor from this sort of fabric.   I don't know if that's the case - these clothes weren't THAT bad, but I think the odor was as ingrained as it was mainly because they had been packed in plastic bags and stored for a number of years.  Can't you just see those odors working their way into the fabric??? ewwww.......

So.  Everything got sent through the washing machine once (I have a front loader, so I didn't really have a viable option of soaking them first), using a variety of soaps like Borax, 7th Generation, Washing Soda, Baking Soda, Vinegar - basically every possible combination I had on hand!  I also soaked and hand washed several pieces.  Way, way, WAY too much fabric to do that with everything!   I am, after all, beginning to get a life again...... ;-)

Then everything got hung in the sun to dry for a day.  (I had to buy another length of clothesline AND some more clothespins to accommodate it all!)

At some point I realized I had some professional carpet cleaning enzymatic odor-eater that's actually called "Smoke-X" - an excellent product, and I started spraying down the washing machine with it (which retained the smoke odor in between every load!).   Then I realized I could also spray down the clothes before tossing them in the washer.

Once everything had aired and dried, and I gave it all the sniff test, this is what I did for the second round of washing:

1.  Spray down the washer and the clothes with Smoke-X.
2.  Wash them with a scoop of Baking Soda and some vinegar (roughly 1/2 c....or so.....) in Hot Water.  (*See note below about future plans)
3.  Hang to dry again in sun and wind - I'm leaving them outside for at least a day or 3.


Everything is blowin' in the wind (go ahead and join me...."how many roads......" right now, and walking down the line giving a sniff test is quite promising!  I think I can still detect a smoke smell....or maybe it's just some odd sumpin' sumpin' else....in some of the spandex-type fabrics, but those are not fabrics I'll be inclined to re-use anyway, and maybe my **favorite donation site can find a use for them.

My plan going forward is this - as I cut up the pieces I'm going to use, I'll  wash them again, using some other tips I've picked up in my research:

1. * I'm going to add some drops of Essential Oils to the vinegar bottle that lives in my laundry area.   Peppermint Oil should be good for odors, lemon or orange for whites, lavender for general wonderful-ness.   Since peppermint is pretty potent (say that 5 times quickly!), maybe about 4-5 drops in a quart; the others I'll try 6 or 7 drops.   Then add about 1/2 cup of the vinegar/EO mix to the rinse cycle.
2.  This is a tip I've been wanting to try for awhile - cut up some cotton squares, or use old white washcloths (I have bunches of these!), add about 3 drops of essential oil to the square & toss in the dryer - all natural DIY dryer sheets!  No phony scents!  No pore-blocking toxins!

* *For local SF East Bay people who have stuff to donate, I love the Emeryville Community Action Program for donations. It is 100% volunteer-run - many of the people who work there are homeless, and money is not involved - when they receive something, it is given away.  Thumbs up from me!

I'll make note of the success (or fail) rate of my 'going forward plan' as it happens.   For the moment, a big THANK YOU to everyone who offered advice, and here's to fabric exchanges and paying it forward and other generous acts!  :)

Thursday, August 16, 2012

The Exploding Box of Smoke and Fabric

Looks innocent enough....right?

Luckily, I had been warned ahead of time, so I carefully opened the box seams....
Mmhmmmm.....see the Space Bag?  You know, those bags that suck all of the air out of the contents?

I opened the bag & stood back....

It grew.....and grew.....

Parting shot of the easy way to get it all downstairs to the laundry room....
(if you look very closely you can see a cat at the bottom of stairs clearly saying "WTF???")

The back story:  A dear friend heard that I was making bustles, and she got all excited at the prospect of finding a home for her daughter's years and years of dance costumes.   I got all excited at the prospect of frabjous free fabric!   So she packed it all up, and today this gigantic exploding present arrived at my doorstep!  I seriously could BARELY pick it up - it really was THAT heavy!

The bad news:  it never even occurred to me to ask if the costumes had been around smokers....and it was immediately evident that they were.

 :::cry:::

UPDATE:  I just got the official word....apparently it was the Seamstress' husband who was a chain smoker (and died of cancer....)   Good heavens, all of the costumes she made must have smelled!  And a couple of environments the daughter danced in were bad, according to Dear Friend.   Maybe they aren't really all THAT bad....Dear Friend said she could smell something when the costumes were made but couldn't put her finger on it, and everyone else kept telling her she was imagining it .....but after being stored in plastic bags for several years, the smoke smell really sank in. It really isn't nearly as bad as some boxes of fabric I was given a couple of years ago - and I WAS able to save at least some of that fabric, (with NUMEROUS washings!) but what I saved from that batch was nearly all natural fibers, so I don't know if this will be different..... we'll see......

I'm in the midst of doing a mini-boatload of laundry right now, and this is a good excuse to get my outside laundry line hung up to dry things in the sun.

Any hints or tips for removing smoke smell from synthetic dance-type fabrics?  Everything from tulle to spandex to lace to velvet is in here!  I already have a box of feathers & stuffed items sitting outside & ready to go to a donation site, and I have load #1 on its second cycle in the machine.....fingers are crossed, and advice is welcomed!

Wednesday, August 15, 2012

Justine - The Tattered Steampunk Bustle

Bustle-making is still fun!  Here's Justine, my second fancy lady:


She had her public debut at the Cañada College Blogger get-together, where she was well-received, then she went up in my Etsy shop (which is still too empty to link to here), and she will soon be winging her way to her new owner!

Here's Stella the Sassy Steampunk Bustle being worn:


I'll keep making bustles as long as it's fun to do, and right now, it is seriously fun!

I seem to have hit a bit of a slump in the self-sewing motivation area, but a dear friend came over with a project for me yesterday (this is someone I owe....BIG time....) so I have a practical project to keep me busy while I search for my personal mojo....I know it hasn't wandered far!

Keep smiling...and feel free to send a few my way; I could use them right now...  :)

Tuesday, August 14, 2012

Bloggers! Show and Tell! Chat and Laughter! Cañada College!

I managed to leave my camera at home when I took my body to the Fabulously Fun Cañada College Blogger Gathering last night, but there are pictures galore on shams' post about the event, so I'll scoot you on over there for the visuals.

(side note:  I finally learned how to do the en-yay over the ñ in Cañada!!!  I'm slow sometimes, but I learn eventually.  In case you don't know yet, on a Mac you just hold down the Alt key, then press n twice)

Back to the good stuff - I've never yet taken an actual sewing class, but I get so motivated when I see the gorgeous work that comes from people like Ronda Chaney, Wayne Wichern, and Lynda Maynard, Educators Extraordinaire at Cañada - at times like this I want to be independently wealthy...at least enough to take classes and workshops wherever and whenever!   Wayne showed some of his gorgeous hat creations, and I would join a workshop with him tomorrow if I could!  I jumped all over Lynda's book, "The Dressmaker's Handbook of Couture Sewing Techniques"

Don't let the "Couture" in the title dissuade you - this book is CHOCK FULL of valuable finishing tips and techniques, the pictures are abundant, the explanations are clear - this is a must-have for anyone who wants to step up their skill level!

Seeing blogger/sewing friends I already know is always a delight: shams, of courseRose from needles, pins, thornsBeth of sunnygalstudio, and Jean of jkaoridesigns and I loved meeting the people behind a few of the blogs I've already been following and enjoying: Amy of Sew Well, and Cindy of Cation Designs, which, I was happy to finally find out, is pronounced cat (as in our purr-babies) eye-on - apparently this is a scientific geeky term, which Cindy has promised to explain....I'll be watching for it....;-).  And I got to meet some totally new-to-me bloggers, Jenny of JennyRinn DesignsSonia of Sew With Sonia, and Katy of KatyRenee, who also works at Cañada <~~please note that en-yay again - sometimes the simplest little things can please me ever so much...;-D

There's just something about a group of like-minded sewists who gather together - I think we're extraordinarily delightful people in general, and this was a particularly fun and talented batch, as evidenced by never-ending chat and laughter, and some truly inspirational sharing in a show-and-tell session.

When Ronda asked if they should do this again, the answer was a resounding "YES!", so I hope it does happen, and some more local bloggers extraordinaire can attend :)

And to top it off, we all went home with a wonderful gift bag:
 - the bag itself is fabulously made (but of course), and it contained some really wonderful gifties inside, including a pass to the Must-Not-Miss-Event, Artistry In Fashion, to be held at Cañada (there's that en-yay again....) on September 29 - I do hope to meet some more of you there this year!   Here is my blog post about my experience there last year - truly this is not to be missed!

I am so blessed - thank you to everyone who was there, and helped make my evening such a delightful one. :)

Sunday, August 12, 2012

I just kept thinking "camp shirt" (not what I wanted)

It was (another) one of those projects that I thought would be simple, quick, and easy.  And it wasn't bad...really, it wasn't...but still....

First it looked like a a cross between a hospital gown and a lab coat (the muslin did, anyway):
Note the longer sleeve on my right - this was the already altered pattern.
I shortened the sleeve, altered the shoulder, and took in the more than I already had - the result is on my left.
I should back up a bit.  This was a pattern that was in a largeish batch of patterns a friend gave me after cleaning out an estate.  The sewist had good taste in patterns, imho, or at least she had taste that appealed to me, with a lot of interesting collars and other design bits.  Unfortunately, she wasn't my size, so most of the patterns would need to be sized down for me.  Fitting alterations are one thing, but grading an entire pattern?  The thought still terrifies me!   Simple patterns though, I'm willing to tackle.

I thought this one had possibilities:

I sliced and diced the already oversized dimensions, and made a muslin, partly for fit, partly because I really wasn't sure I was going to like it at all.  Once I finally thought I had the fit figured out, I decided to go for it, using a lovely blue raw silk that I originally intended as a lightweight robe for Mom.   Not a shade I would have bought for myself, but now that I've lost the red hair, it turns out to be a fairly good color for me!

So I made up the shirt, and even though I still wasn't sure I was going to like it, I decided to focus on precision and good sewing habits.
Side note:  I vowed that August was going to be Clip All My Threads Month, and I'm doing well on that!   I find it interesting that focusing on one good habit seems to be spreading into other areas, and may have something to do with my decision to do A Good Job on this shirt.
In spite of my good intentions, Yesterday's post showed my first snafu, at the collar band:
But I was able to correct it (BOTH sides I did this on!) and ended up with this:

::whew::

And I was quite pleased with my underarm seams, where 4 angles had to meet at a point:

But there were other issues.  (Aren't there ALWAYS?!)  Once I had the basic shirt - the sleeveless version - put together it was looking more like a shapeless, rather boring yawn than a fun shirt with a twist.  On top of which, in order to have any arm movement, the gap above the side seam exposed...ummm....way too much flesh and bra.   WAY too much.  So I decided I had to add sleeves.   Very short sleeves.   Once I did that all I could see when I looked at it was "camp shirt".  Still, basically, one big yawn.   (I should have taken pictures for proof!)

The next step in trying to make the shirt wearable was a silk-screening session.  I used Marcy Tilton's  "montage" design:
This is an example of how NOT to treat a silk screen!!!  The leftover paint in the design is the result of not rinsing it immediately after using - it still works fine, but if you do that often enough, it will clog! Do as I say, not as I did, 'k?   I didn't want to use the entire design, so I painted over just a few of the bits in the design, using a paint brush, and then squeegeed over that, so that I could control how much of the design I transferred.  It worked well!

One other change I made was to add some tabs at the sleeve hems, pulling up a bit of a gather, and I think I finally eliminated the "camp shirt" vision.  This blue, btw, is a perfect match for the blue in my Sham-alama-dingdong skirt, so I had an outfit in mind, even though I knew the style wasn't exactly a perfect match....but sometimes you just gotta do what you set out to do.    Thankfully, I do have more of this material, so I'm going to look for a more suitable pattern to wear with the skirt.  In the meantime, here's what I ended up with:


I also shortened the front by quite a bit,
and left the back long.


In the end, I like the shirt.  It's not the best choice paired with this skirt, but I think it will work well with jeans or slim pants.  It's nice to discover a color I like as well - periwinkle blue, who knew?  It was a fun pattern...but I think once was enough.

Saturday, August 11, 2012

I was SOOOOooooo Careful....and still.....

This happens:

Really?????

I was finding SO much pleasure in making a relatively simple garment, from a lovely, stable woven, and all I wanted was perfection.  Is that so much to ask?   I measured, basted, adjusted, and thought I had a perfect line at the collar band seam, but nooooo......   And not just one side, but BOTH sides.   That's a little more than just a turn-of-the-cloth error.

Oh, I might add that I didn't catch this until after I had trimmed and clipped my edges - not until I was pressing.  But of course.

So tell me,  1)  Have you ever made a perfectly stitched garment that required NO unpicking?  (please just lie to me if you have).
2)  Will I ever make a perfectly stitched garment that requires NO unpicking?  (feel free to lie to me again....)

For what it's worth, one side is now repaired; I just had to come and vent a bit before re-doing the other side.

An aside:  I know I've been a bit absent from blogland lately, but I'm sewing again, and look forward to catching up on my blog reading-and-posting....and I'll see a few of you Monday night at Canada College's shindig!